Waterproofing Your Crawl Space

Tired of water getting into your crawl space? The first thing to look at is having a landscaping company extend your downspouts, adjust the grading around your home and make sure the sprinklers are facing away from the home and that none of the sprinkler heads are leaking.
Next, you’ll want to have a plumber check to make sure that all drain lines from air conditioners, sump pumps, and dehumidifiers are properly draining away from the foundation and that all pipes exiting the foundation around the footing are properly backfilled and sealed up, not allowing water intrusion.
You'll also need to verify that you don’t have any plumbing, HVAC, or hot water heater leaks from above, that the crawl space entry has a functioning window well installed and that all your foundation vents are above grade or have foundation vent wells preventing water intrusion.
Once you’ve done everything you can to prevent water intrusion from the outside, but that’s still not doing the trick, then you need to concentrate on taking care of the problem from inside the crawl space with waterproofing.
If you’ve already crossed all of the exterior items off your list and still have water getting into your crawl space, then it’s probably time for Dog Gone Mold to install a Footer Tile Drain System for the most effective crawl space waterproofing in Springfield Missouri.
This is essentially a French Drain System, except instead of being on the outside of your foundation, this is installed inside the crawl space, around the perimeter. It costs about half the price to do a footer tile, rather than a French drain and there's no digging in your yard this way.
We start by digging extensive trenching around the perimeter of your crawl space from inside the crawl space. The trenching is dug deep enough for us to place hundreds of feet of corrugated piping in it. The depth and width of the trench can vary, but around 8-10 inches wide and 10-12 inches deep are common sizes that satisfy most crawl space trenching needs. We use the excess dirt from digging the trenches to fill any low areas throughout the crawl space.
After the trenches are dug, we lay a base of drainage rock inside the trenches. Then, we use corrugated-perforated pipe and install throughout the trenching, on top of the drainage rock. The pipe also has a sock around it, (or sleeve), to help prevent dirt and mud from clogging. Then another layer of drainage gravel is placed in and on the trenching with the pipe. Water drains more quickly through gravel than it does through most types of soil, so puddles form less readily.
After the trenching, pipe, and gravel are completed, a sump pump is installed. We install the sump pump in a basin, with a check valve. The check valve keeps water that has been pushed out from flowing back into the bucket. Once it's out, it's out. We install an outlet just for the sump pump and then run a drain line to the exterior of the foundation. From there, we bury the sump pump drain line around 15 feet or more away from the foundation and install a pop up drain. There's a weep hole at the end of the pipe, so any left over water can escape and not freeze.
Any future water intrusion into the crawl space will now go into the piping and drain to the sump pump. The sump pump will then send any water to the exterior of the crawl space, away from your foundation.
Now your crawl space will finally remain dry once and for all and not cause you any issues associated with moisture, such as mold, wood rot, termites, insects, odors, and more.
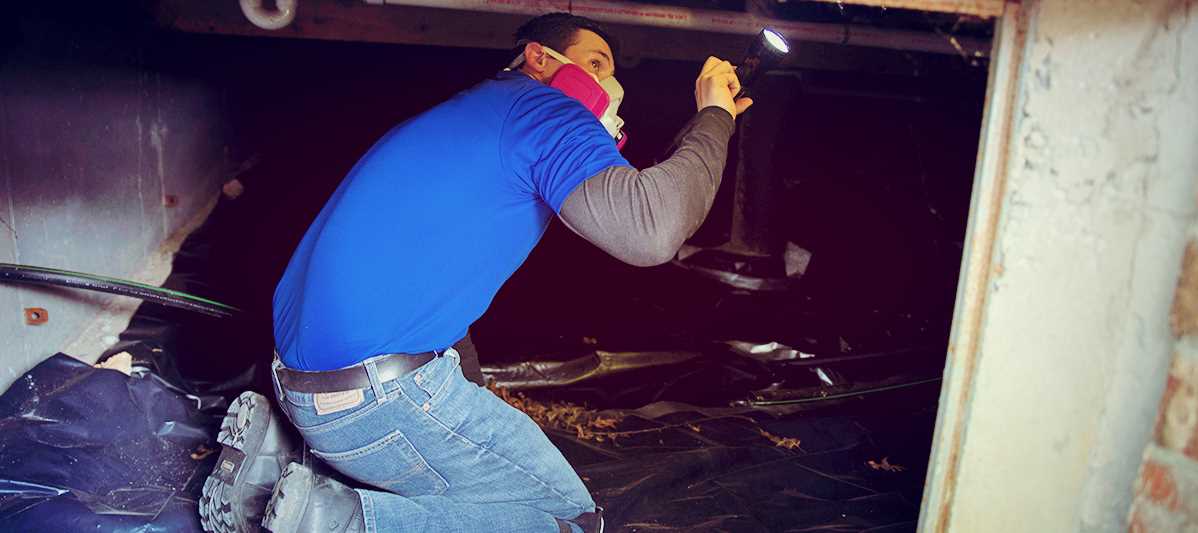
If you're having an ongoing water, moisture, or mold issue, call Dog Gone Mold for a crawl space inspection and let us take a look at everything for you. We will get you all the information you need to decide what needs to be done at your home to eliminate present problems and prevent future problems.